Ben Bosher, ReSOURCE board chair, has often found DIY inspiration at ReSOURCE stores. The following is Ben’s play-by-play description of one of his latest projects. We hope it inspires you!
This project was on my life list. I had researched wooden lampposts and lanterns on the internet last year and prior. If I purchased all new materials, this project was going to cost me at least $600; for a good quality lantern, more like $800 to $1,000 for the materials alone. Including the cost of the lantern – $25 – purchased at ReSOURCE’s 339 Pine Street store over a year ago, the nearly 9′ wooden post, 4‘ sunna tube, 3 bags of concrete, supporting brackets embedded into the concrete and underground-rated wire, my total cost was around $140. I had to put a new electrical box and switch in the den to operate the light, which cost me another $5 at ReSOURCE.
Here is a description of the five pictures attached below:
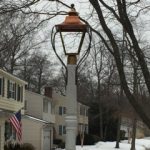
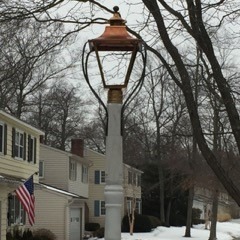
Picture 1: During last winter, I stripped the post of the multi-colored paint, sanded and repainted it with a primer and two top coats of exterior paint. The lantern was still too small for the height and mass of the post, so I took flat steel rods, formed them into a four-sided support and painted them flat black to give the lantern more mass, even though it is really just decorative. I then took the assembled post outside in March to study the proportions again holding it in the approximate location to be installed.
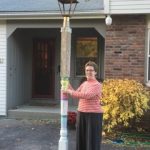
Picture 2: My wife, Anne, is holding the post with lantern temporarily affixed to get an idea of the proportion of the lamppost to the light fixture. As you can see, it does not have the proper proportions of about 6 to 1, post height to overall height of lantern. I cut off at least a foot of the post at the top (which is actually the bottom were it to serve as a porch post again) and planed and tapered the top square part so that it is not so massive.
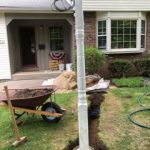
Picture 3: Construction started in early May with a trench for the wire leading into the basement, the sunna tube in place, concrete poured and metal brackets attached at the base. What you don’t see is the 5’ long by 1 3/4” iron pipe embedded into the concrete on which the post with wire has been slipped on for greater stability.
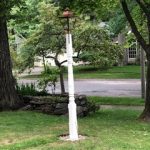
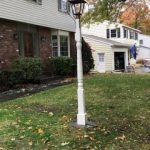
Picture 4: A view of the nearly finished product looking toward our street. One last task was to cut and screw on a 7” base where the post meets the concrete using PVC board material to make the wooden post more rot-resistant and to cover the metal brackets at its base.
Picture 5: A recent view of lamp and post with the PVC base boards attached taken from our driveway.
Visit a ReSOURCE store soon and let your imagination lead you to your next DIY project.
